Getting started
This walks you from signing up to looking at your first captured request. You need a browser, and
optionally a terminal with curl.
1. Sign in
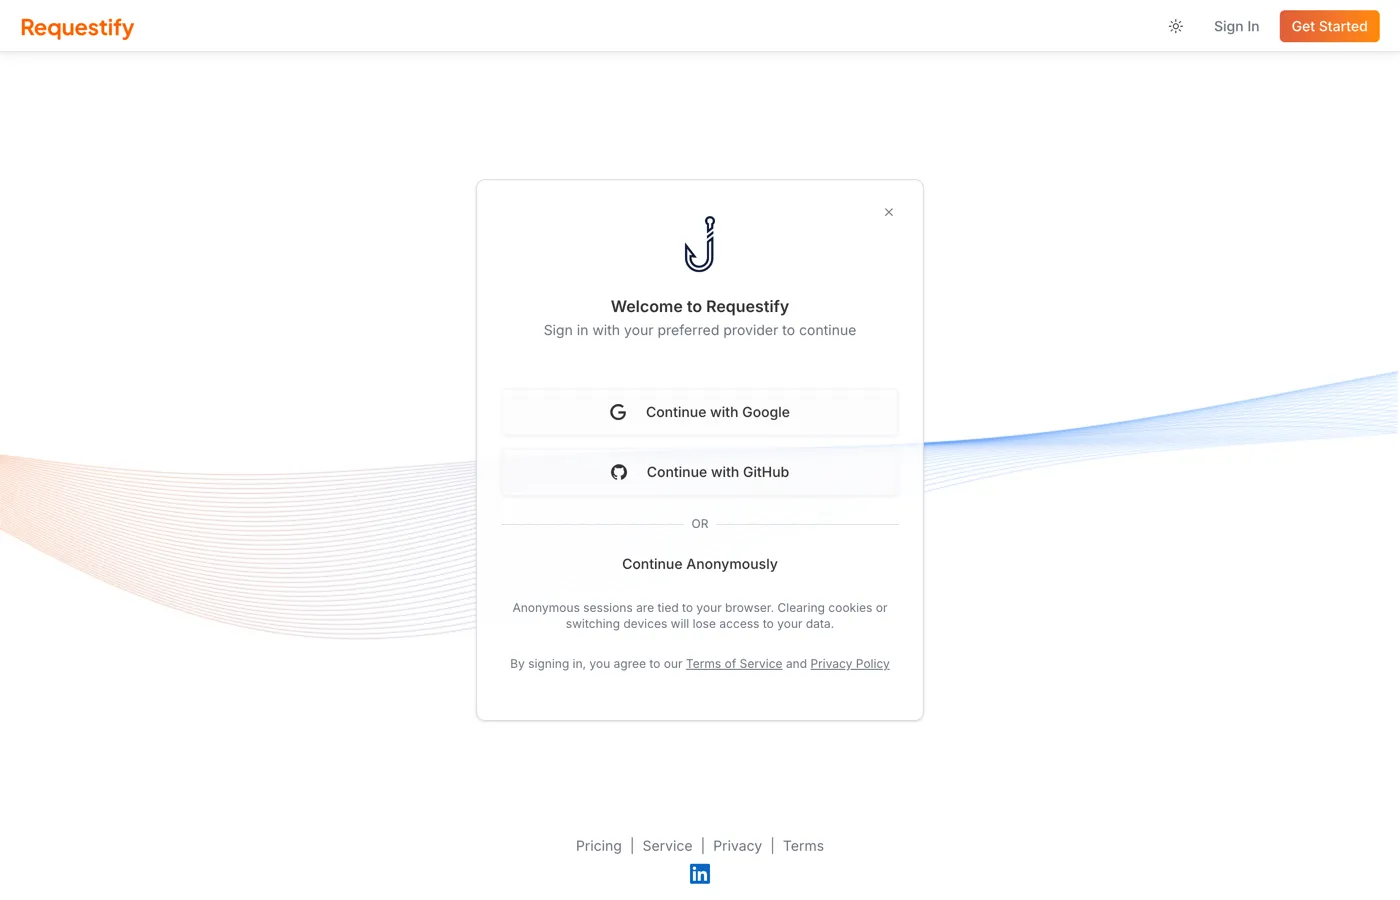
Section titled “1. Sign in”Go to requestify.dev/signup and pick how to sign in:
- Continue with Google or Continue with GitHub creates a regular account that you can sign in to from any device.
- Continue Anonymously gets you straight in without an account. The session is tied to your browser, so clearing cookies or switching devices loses access to your data. You can upgrade it later from the avatar menu with Link Account, which keeps everything you’ve created.
2. Name your workspace
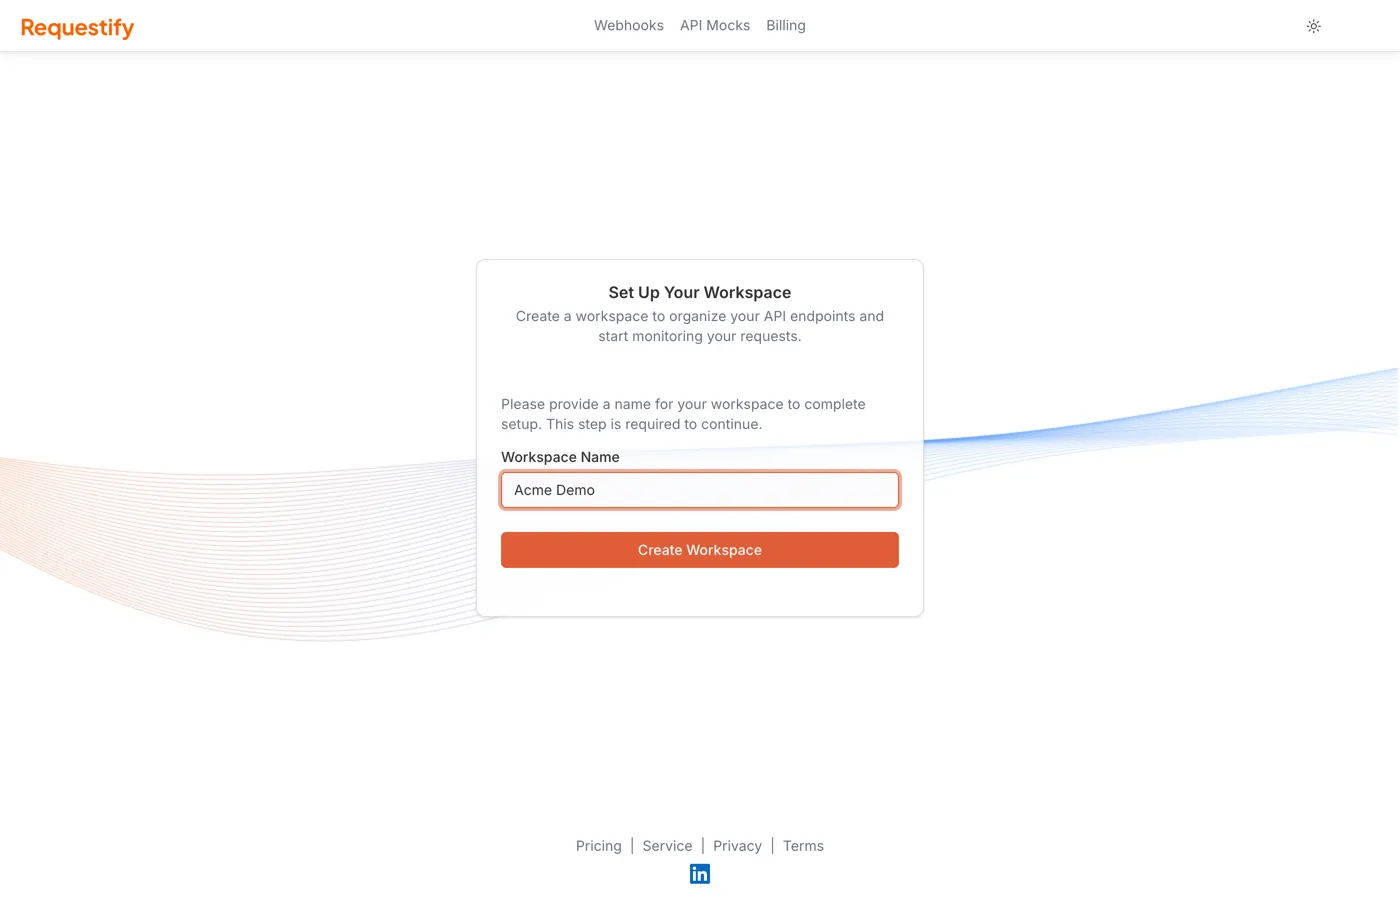
Section titled “2. Name your workspace”The first time you sign in with Google or GitHub, Requestify asks you to Set Up Your Workspace.
The name you choose becomes your subdomain: a workspace called Acme Demo receives traffic at
https://acme-demo.requestify.dev.
- Names are 2 to 50 characters: letters, numbers, spaces, hyphens and underscores.
- For the subdomain, the name is lowercased and anything other than letters, numbers and hyphens
becomes a hyphen.
My Team_1becomesmy-team-1. - Each workspace name is unique across Requestify.
- A few names are reserved because they’re used for Requestify’s own hosts:
api,docs,www,app,mcp,status,blog,help,mailandadmin.
Anonymous sessions skip this step and get a randomly named workspace, such as nostalgic-turing.
3. Copy your endpoint URL
Section titled “3. Copy your endpoint URL”After setup you land on the Requests page. Requestify has already created your first endpoint and given it a random three-word name. The endpoint card at the top left shows its name; the copy button next to it copies the full URL:
https://acme-demo.requestify.dev/brave-eager-turing/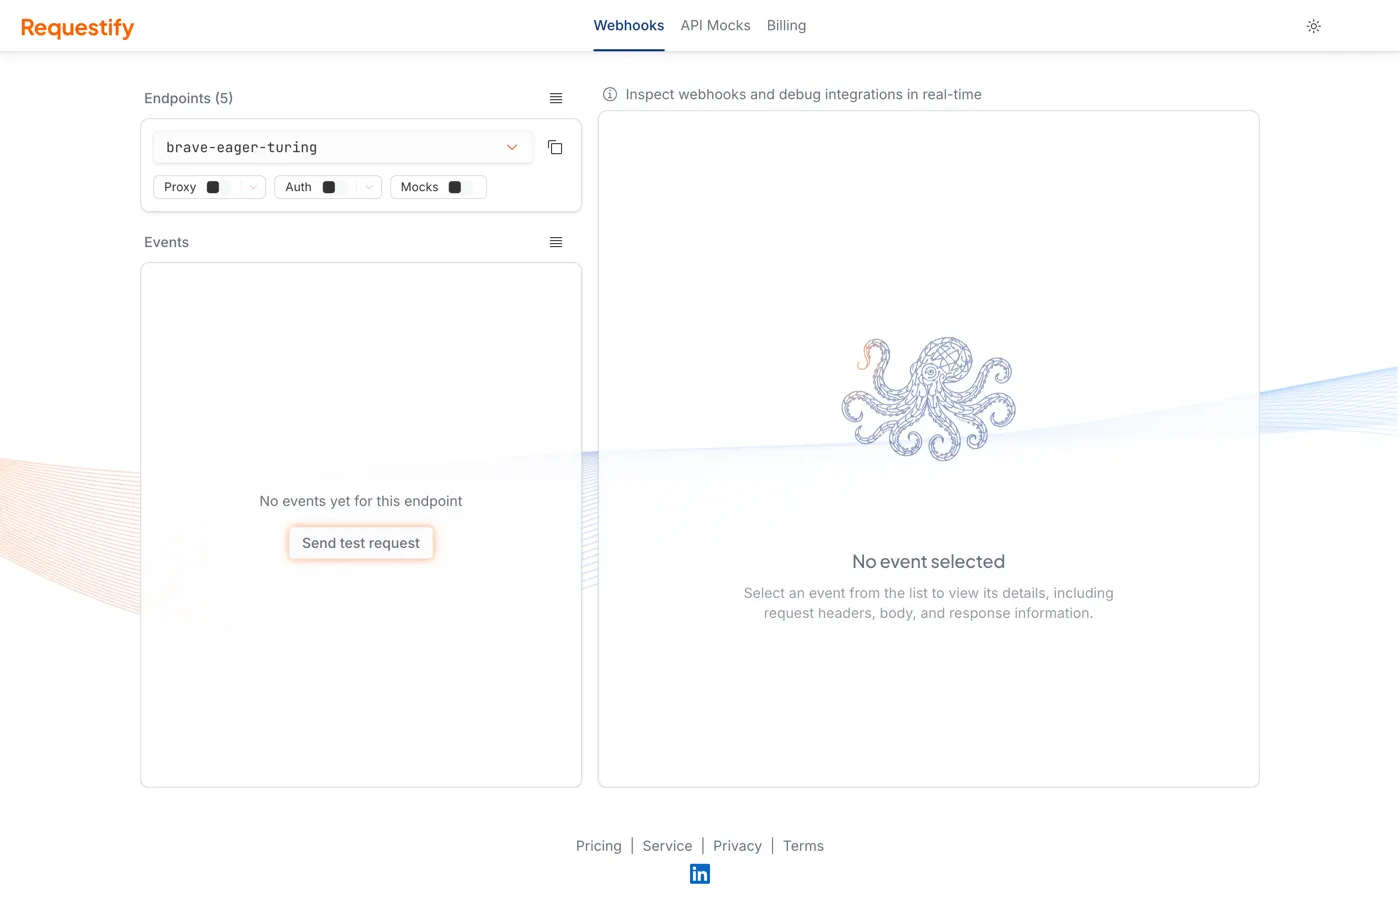
4. Send a request
Section titled “4. Send a request”Click Send test request in the empty event list, or send one yourself:
curl -X POST "https://acme-demo.requestify.dev/brave-eager-turing/orders?source=docs" \ -H "Content-Type: application/json" \ -d '{"orderId": 1234, "status": "paid"}'Requestify answers with 201 Created and the id of the captured event:
{ "eventId": "6f1c2a3e-…", "message": "ok" }5. Inspect it
Section titled “5. Inspect it”The request shows up in the event list straight away, with no refresh needed. Click it to see its headers, query parameters and body on the right.
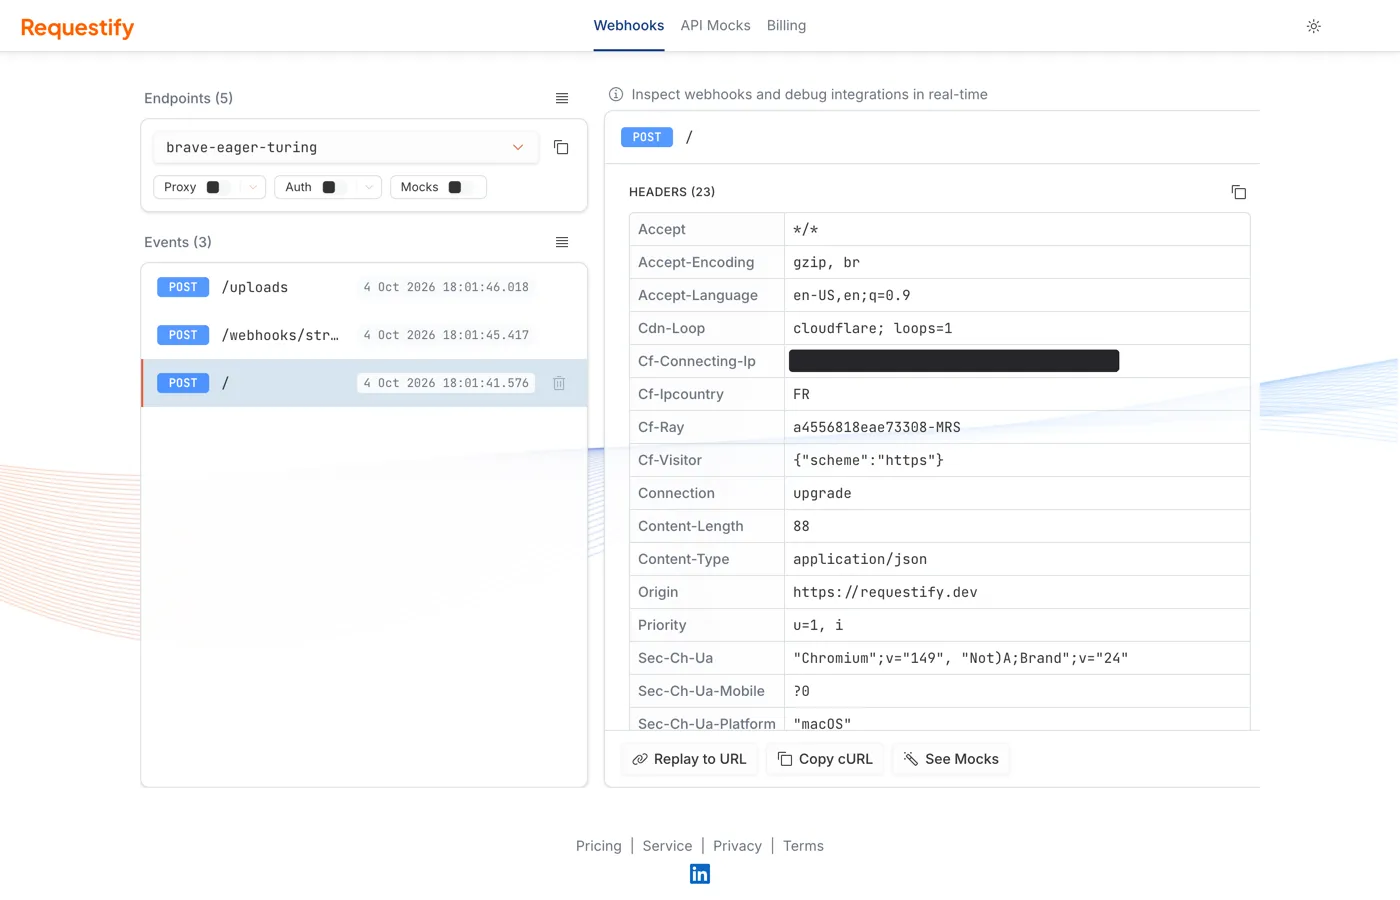
That’s the core loop. Point a webhook sender or your own code at the URL and watch what arrives.
Next steps
Section titled “Next steps”- Capture & inspect requests covers everything on this page in more depth, including protecting an endpoint with a secret header.