Capture & inspect requests
Every endpoint records the requests sent to it as events. This page covers how endpoint URLs work, what you see for each event, and the settings that control capture.
Endpoint URLs
Section titled “Endpoint URLs”An endpoint URL has three parts:
https://acme-demo.requestify.dev/brave-eager-turing/any/path/you/like?and=query └─ workspace ─┘ └── endpoint ──┘└── anything after it ──┘- Any method is captured:
GET,POST,PUT,PATCH,DELETE,OPTIONSand the rest. - Any path after the endpoint name is captured and shown on the event, so one endpoint can
receive webhooks for several integrations at
/stripe,/githuband so on. - Request bodies are captured for
POST,PUTandPATCH. Bodies sent with other methods, such as aGETwith a body, aren’t stored. - Keep the slash after the endpoint name.
…/brave-eager-turing/is the endpoint;…/brave-eager-turingwithout the slash isn’t routed to it.
To get an endpoint’s URL, select it on the Requests page and click the copy button next to its name. To add another endpoint, open the Endpoints menu (☰) and choose Create new. New endpoints get a random three-word name.
What the sender gets back
Section titled “What the sender gets back”When mocks are off, Requestify replies to every captured request the same way, so senders that check for a 2xx response are satisfied:
| Situation | Response |
|---|---|
| Captured | 201 with {"eventId": "…", "message": "ok"} and an X-Requestify-Event-Id header |
| Unknown or disabled endpoint | 404 with {"error": "endpoint not found"} |
| Auth header missing or wrong (see below) | 401 with {"error": "unauthorized"} |
| Body over 10 MB | 413 with {"error": "request body too large"} |
| Over your plan’s requests-per-minute limit | 429 |
To reply with your own status, headers and body instead, see Mock responses.
Reading an event
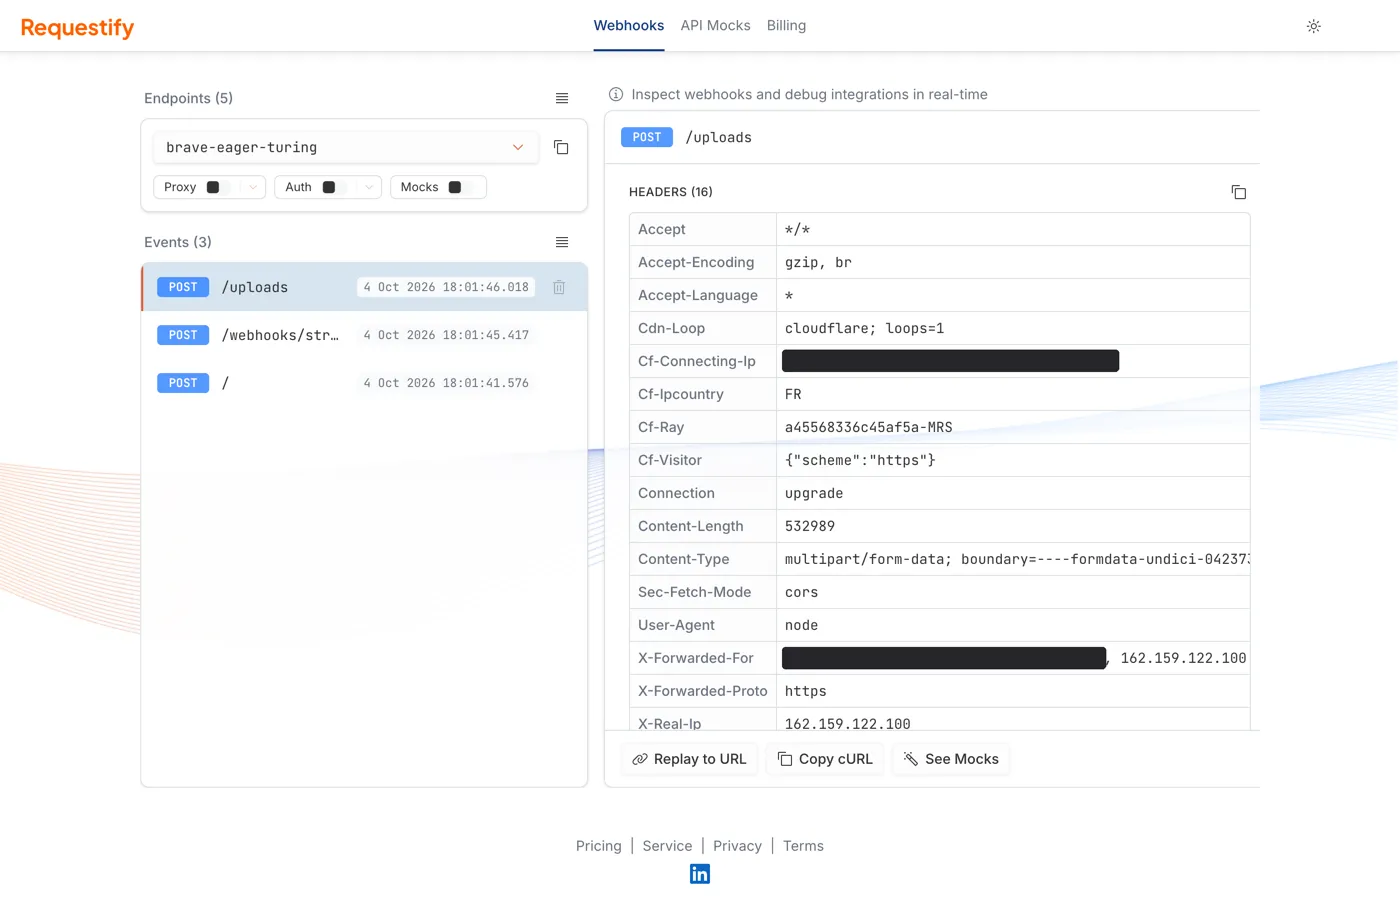
Section titled “Reading an event”Select an event in the list to open it on the right. The header shows the method and path, and the panel lists:
- Headers, with a button to copy them all.
- Query Parameters, when there are any, also with a copy button.
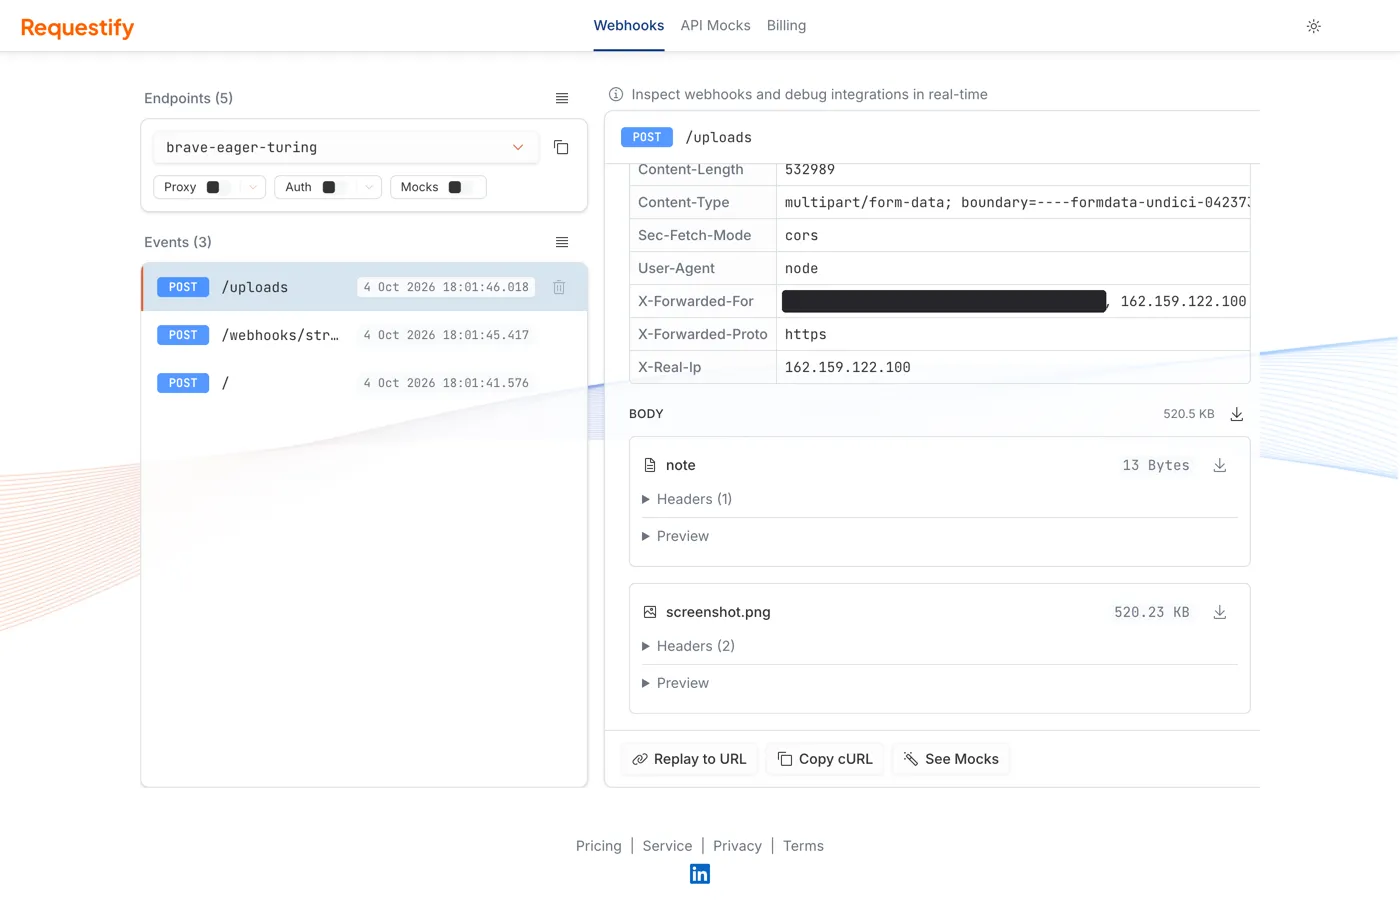
- Body, with its size and a download button.
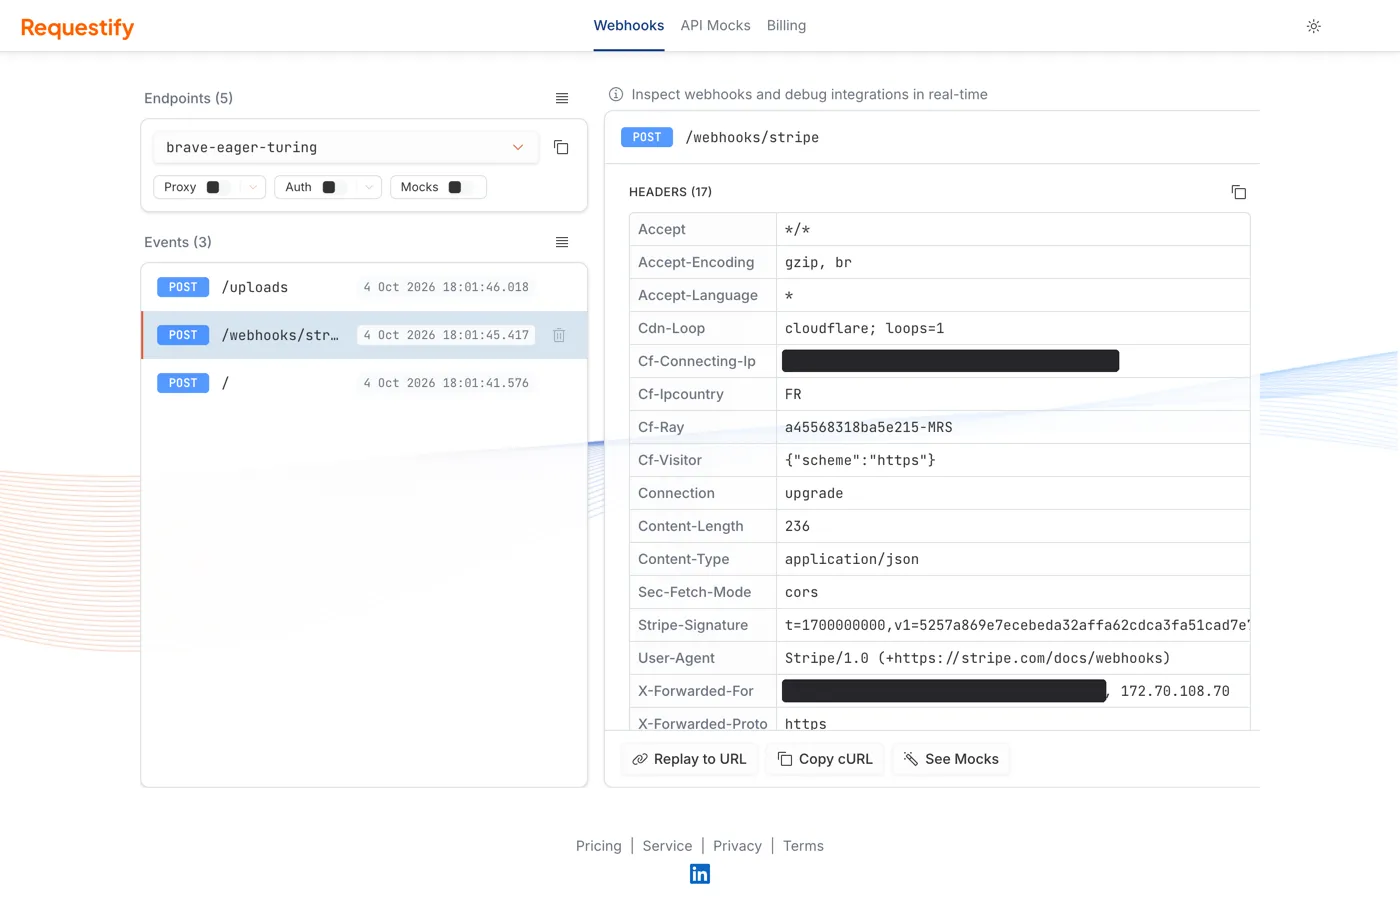
The body viewer adapts to the content type:
- JSON is pretty-printed. XML and HTML are indented.
- Multipart form data is split into its parts. Each part shows its file or field name, a download button and its headers. Open Preview to see an image part, or a text part’s value.
- Binary content such as PDFs, archives, audio and video shows its type and size, with a Download File button. Images are previewed inline.
- Compressed bodies sent with
Content-Encoding: gzip,deflateorbrare shown decompressed. - Anything else is shown as plain text.
Masked headers
Section titled “Masked headers”To keep secrets off your screen, the values of sensitive headers are shown as ***MASKED***. This
covers Authorization, Proxy-Authorization, Cookie, Set-Cookie, X-API-Key, X-Auth-Token,
X-Access-Token, X-CSRF-Token and similar token headers.
Requestify still stores the real values, and replays send them. Copied cURL commands contain the masked placeholder, so put the real value back before running one.
Copy as cURL
Section titled “Copy as cURL”Copy cURL at the bottom of the event panel copies a curl command that repeats the request
against the same endpoint, with the same method, path, headers and body. It’s a quick way to resend
a webhook from your terminal or tweak it before sending.
Managing events
Section titled “Managing events”The Events menu (☰) above the list has three settings:
- Auto-scroll to latest keeps the newest event in view as requests arrive.
- Hide OPTIONS hides CORS preflight requests from the list. It’s on by default.
- Clear all events deletes every event on the selected endpoint.
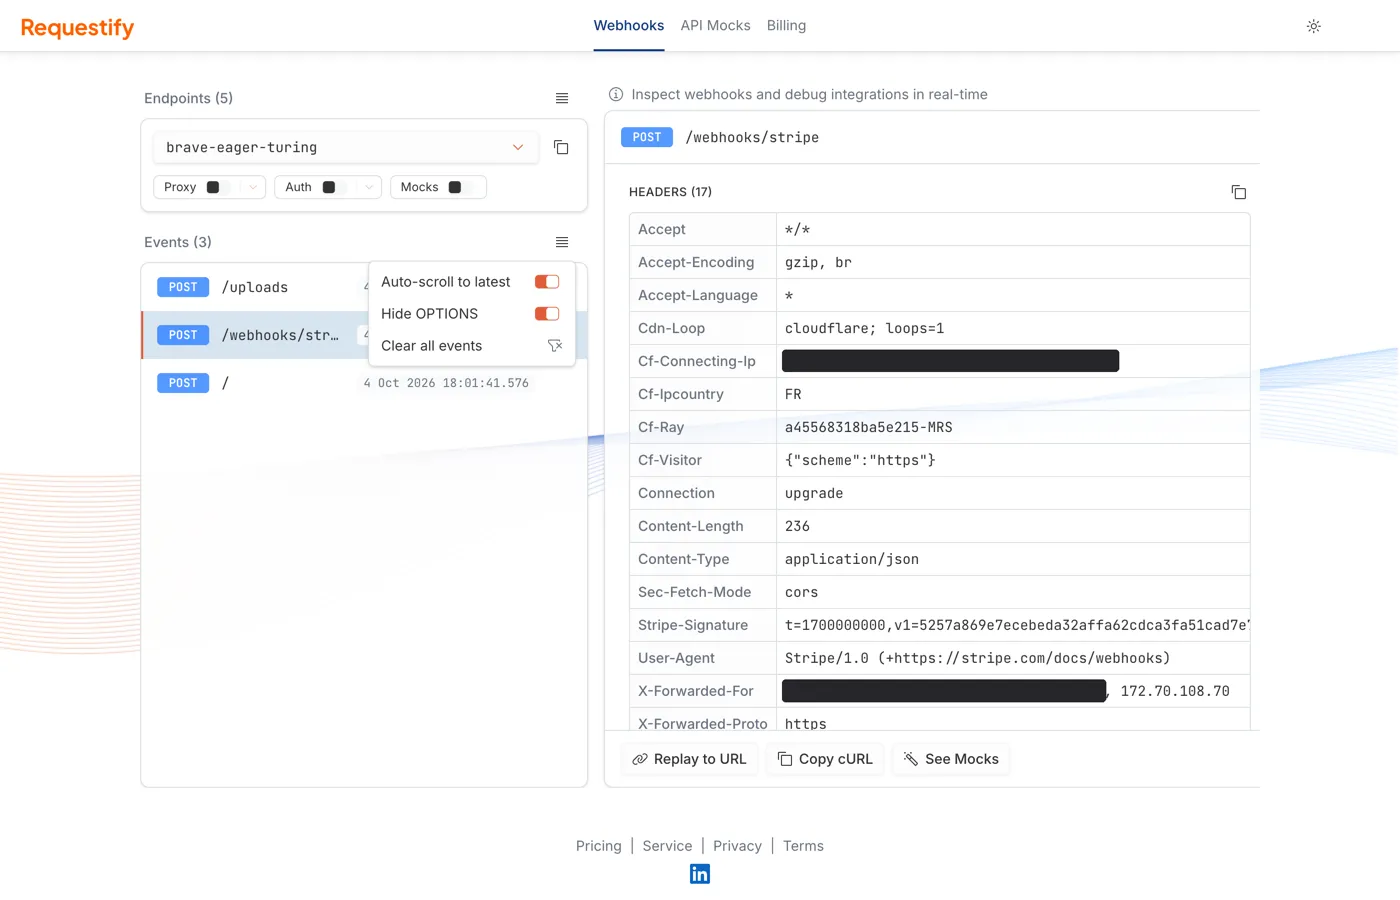
To delete a single event, select it and click the trash icon at the end of its row.
Events are kept for a period that depends on your plan, then deleted automatically. See pricing for the current retention.
Managing endpoints
Section titled “Managing endpoints”The Endpoints menu (☰) above the endpoint card has:
- Create new adds an endpoint with a random name and selects it.
- Enabled turns the endpoint on or off. A disabled endpoint answers
404and captures nothing. Its existing events and settings are kept, and switching it back on restores it. - Delete removes the endpoint along with all of its events. If you delete your last endpoint, a new one is created for you.
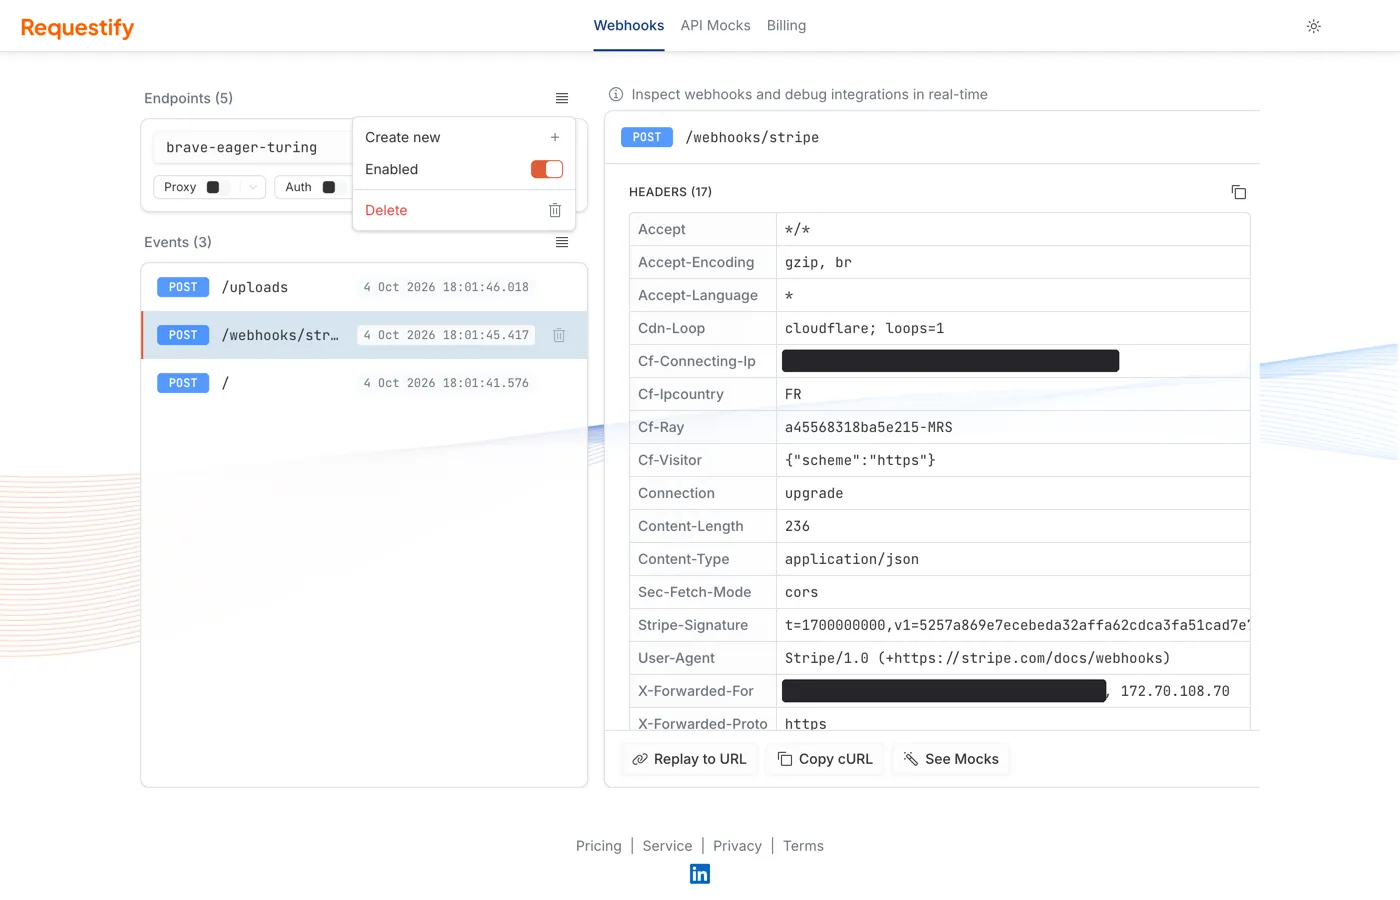
The number of endpoints you can have depends on your plan.
Protect an endpoint with a secret header
Section titled “Protect an endpoint with a secret header”By default anyone who knows an endpoint’s URL can send to it. To accept only requests that carry a secret, switch on Auth on the endpoint card:
- Turn on the Auth switch. Requestify fills in a header name,
x-requestify-auth, and a random value. - Click the arrow next to the switch to see or change the Header name and Expected value. Both have copy buttons.
- Configure your sender to include that header on every request.
Requests without the header, or with a different value, get 401 and aren’t captured. CORS
preflight (OPTIONS) requests are let through, because browsers don’t attach custom headers to
them. Send test request includes the header automatically.
Next steps
Section titled “Next steps”- Proxy & replay: forward requests to your own server and resend them later.
- Mock responses: reply with a status, headers and body you define.